


Welcome to Saigon! If you've just landed at Tan Son Nhat Airport (SGN), the first thing you need is an internet connection. This article will guide you on how to quickly install a Vietnamese Android eSIM so you can have internet access as soon as you land.
Installing a Vietnamese Android eSIM is currently the fastest way, taking only about 5 minutes and costing from 150,000 VND (6-7 USD) for high-capacity travel data packages. You can purchase it online in advance and activate it as soon as your plane lands, completely eliminating the need to queue at expensive physical SIM card counters in the international terminal.
1. Why should travelers to Tan Son Nhat choose eSIM instead of a physical SIM card?
Installing an eSIM allows you to have internet access on the plane as soon as you land, without having to remove or insert a SIM card, and keeps your main SIM card for receiving emergency calls from home.
I witnessed hundreds of tired travelers queuing at SIM card counters at Tan Son Nhat International Airport after a long flight. They often had to pay higher prices (20-30%) for "traveler" packages with suboptimal data allowances. With eSIM, you skip this step. You can book a Grab taxi, contact relatives, or look up maps to your hotel while walking to the immigration area. This is the ultimate technological survival strategy at a busy airport like Tan Son Nhat.

2. Immediately check if your Android phone supports eSIM (VERY IMPORTANT)
You can only install a Vietnamese Android eSIM if your device is a high-end model manufactured after 2019 and is not network locked (unlocked).
Before purchasing any eSIM package, locals recommend this quick method: Go to the Phone app, enter the code. *#06#If you see the text EID A long string of numbers appeared, and congratulations, your device supports eSIM.
The second way is to go in Settings -> Connections -> SIM ManagerIf there are options "Add eSIM"Your device is ready. Please make sure your device is the international version. Many laptops imported from the US or Japan to Vietnam may have this feature locked.
3. Top 3 best mobile carriers offering Android eSIMs for Vietnamese tourists.
In Vietnam, Viettel has the best 4G/5G coverage (including in remote areas), followed by Vinaphone and Mobifone.
Based on my experience as someone who frequently travels around the airport area, I recommend choosing eSIM from [company name]. ViettelTheir signal is extremely strong inside Terminals T1 and T2, as well as in the underground parking areas. Vinaphone is a very good second option, with very fast data speeds within Ho Chi Minh City. Mobifone is popular with its cheap packages, but the signal might be slightly weaker when you travel to neighboring provinces.
You can easily purchase eSIMs from these three carriers through online retailers or travel apps such as KlookTraveloka before flying to Vietnam.
4. Detailed instructions on how to install eSIM on Android (Samsung, Google Pixel, etc.)
Installing an eSIM on a Vietnamese Android device is very simple. The process basically involves scanning the QR code provided by the network operator via email, and it takes about 2-3 minutes to complete.
For Samsung Galaxy phones (most popular):
-
Enter Settings -> Select Connections.
-
Select SIM manager.
-
Press Add eSIM.
-
Select Scan the QR code from the service provider..
-
Point your camera at the QR code you receive and scan it.
-
Press Add To begin downloading the eSIM profile to your device.
For Google Pixel phones:
-
Enter adjusting -> Select Network & Internet.
-
Press the button + next to SIMs.
-
Select Download a SIM instead?.
-
Press NextThen scan the carrier's QR code.
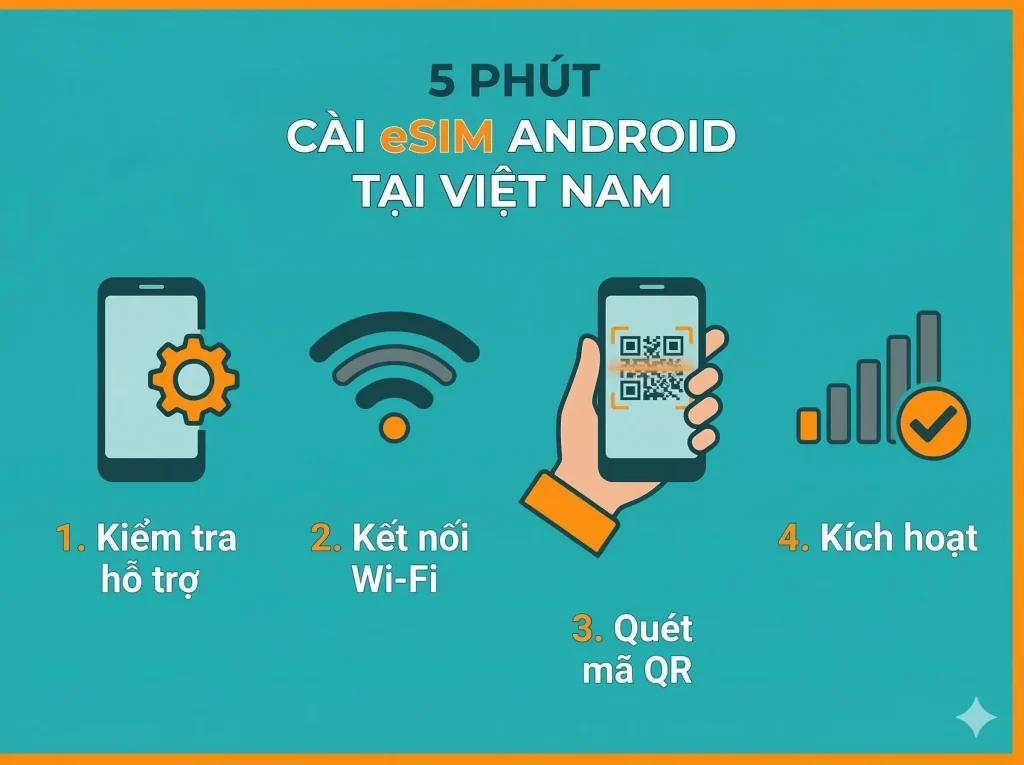
5. Insider tips for quickly installing an Android eSIM right after landing at Tan Son Nhat Airport.
Purchase your eSIM online at least 24 hours before your flight and scan the QR code at your departure airport where you have stable Wi-Fi.
Although Tan Son Nhat Airport offers free Wi-Fi (named "Free Wifi Tan Son Nhat Airport"), the speed is often very unstable due to the large number of users. The eSIM activation process requires a stable internet connection to download several tens of MB of data.
Locals often do it this way: Buy an eSIM online, take a screenshot of the QR code or print it out. While waiting in the international airport lounge for your flight back to Vietnam, scan this QR code beforehand. The eSIM will be added to your phone but won't have a signal yet. When you land at Tan Son Nhat airport, simply go to Settings, turn on the eSIM, and enable "Data Roaming" (if it's an international travel SIM) to get a network connection immediately, without relying on airport Wi-Fi.
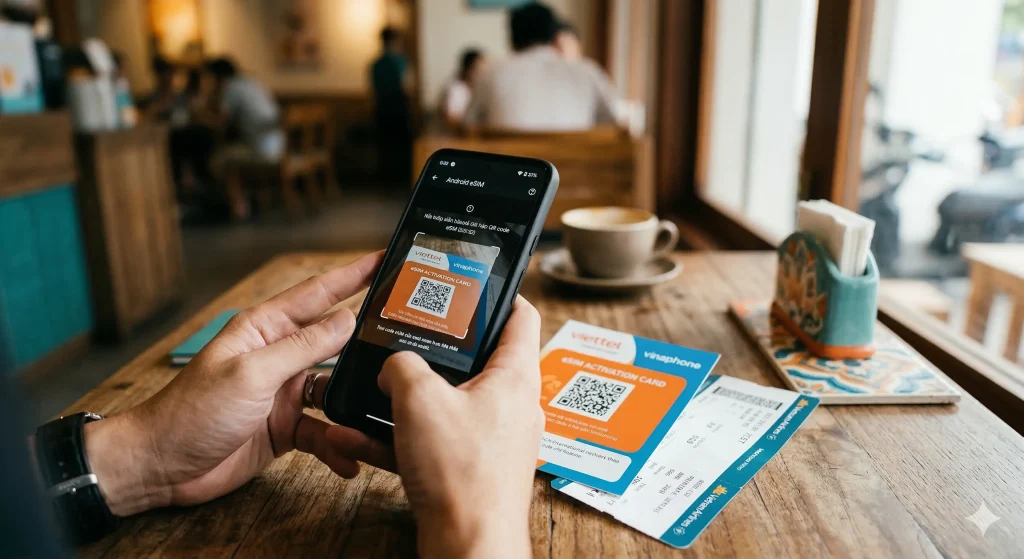
6. Common errors when installing eSIM on Android and how to fix them immediately.
The most common error is the message "Unable to add eSIM" or "QR code has expired," usually because the device is network locked or you have already scanned the code once before.
-
Error “Invalid/Expired QR Code”: Most eSIM QR codes can only be scanned ONCE. If you accidentally delete your eSIM, you must contact your network provider to get a new code (this may incur a fee).
-
The device is not receiving a signal. After installation, make sure you have enabled the eSIM and selected it as the default SIM for mobile data. If that still doesn't work, try turning Airplane Mode on and off or restarting your device.
-
Error: Data Roaming is not enabled. If you buy eSIM from international providers (such as AiraloYou must enable the "Data Roaming" feature in your SIM settings to access the internet in Vietnam.
7. How to optimally use Dual SIM (eSIM + physical SIM) on Android in Vietnam?
The best setup is to use a Vietnamese eSIM for data (network) and your physical SIM for calls/messages (only for receiving OTPs or emergency calls).
Android allows you to manage this in great detail. Go to SIM ManagementThen, set the newly installed Vietnamese eSIM as the default SIM. "Mobile data" Main. Items "Calls" and "Messages"Please keep your physical SIM card registered in your name.
This helps you avoid expensive roaming data charges from your home network provider, while still ensuring you receive bank OTP messages or important calls without interruption.
Comparison table of Internet connection options at Tan Son Nhat Airport.
| Characteristic | Vietnamese Android eSIM (Buy Online) | Physical SIM card (Purchased at Tan Son Nhat Airport) | Free Wi-Fi at Tan Son Nhat Airport. |
| Convenience | Very high (Network available immediately upon landing) | Low (Requires queuing and disassembly) | Average (Automatic connection) |
| Speed | 4G/5G is very fast (Viettel/Vina) | Fast 4G/5G | Intermittent, weak |
| Expense | Cheap (From 150,000 VND) | High (From 250,000 VND) | Free of charge |
| Privacy | Safe | Safe | Security risks |
| Coverage area | Nationwide | Nationwide | Only inside the train station |
FAQ – Frequently Asked Questions about installing eSIM on Vietnamese Android devices
Q1: Can I use a physical eSIM alongside an eSIM on Android?
Yes, most Android phones that support eSIM (like the Samsung S22 and above) allow you to use one physical SIM and one eSIM simultaneously without any problems.
Q2: How do I delete an eSIM on Android if I no longer use it?
Go to Settings -> SIM Management -> Select the eSIM you want to delete -> Tap “Delete” or “Remove”. Note: Only delete it when your plan has expired, as you cannot scan the old QR code to use it again.
Q3: How long is a Vietnamese eSIM QR code valid for?
Depending on the provider, the QR code is usually valid for 30 to 90 days from the date of purchase. However, it's best to buy it close to your flight date (about 1-2 days before departure) to ensure it doesn't expire.
Q4: Do I need an internet connection to install a Vietnamese Android eSIM?
This is absolutely essential. You cannot download the eSIM profile to your device without a network connection (Wi-Fi or other data). Therefore, install it before your flight or use the airport's Wi-Fi (if stable).
Q5: Can I buy an Android eSIM at the counter at Tan Son Nhat Airport?
Yes, but it's not common. Counters at international terminals usually prefer selling physical SIM cards because the registration process is easier. Installing eSIMs takes more time and requires more support, so they are often reluctant to recommend them.
After learning how to properly install a Vietnamese Android eSIM, you've secured your technological "survival ticket" to begin your exploration of Saigon. However, to optimize costs and gain a more comprehensive understanding of the Vietnamese telecommunications market in 2026, we "insiders" recommend you check out these two additional tips:
-
eSIM vs. Physical SIM for Tourists Visiting Vietnam: Which Should You Choose?
-
Buying a Vietnam eSIM at Tan Son Nhat Airport — Comparison with Saily, Airalo, and Klook 2026
Don't forget to save this article and share it with your friends who are about to fly! We hope this guide helps you have a smooth connection experience as soon as you arrive in Ho Chi Minh City. For more detailed guides on dining, accommodation, and transportation, please visit [website address]. Homepage of the website.
